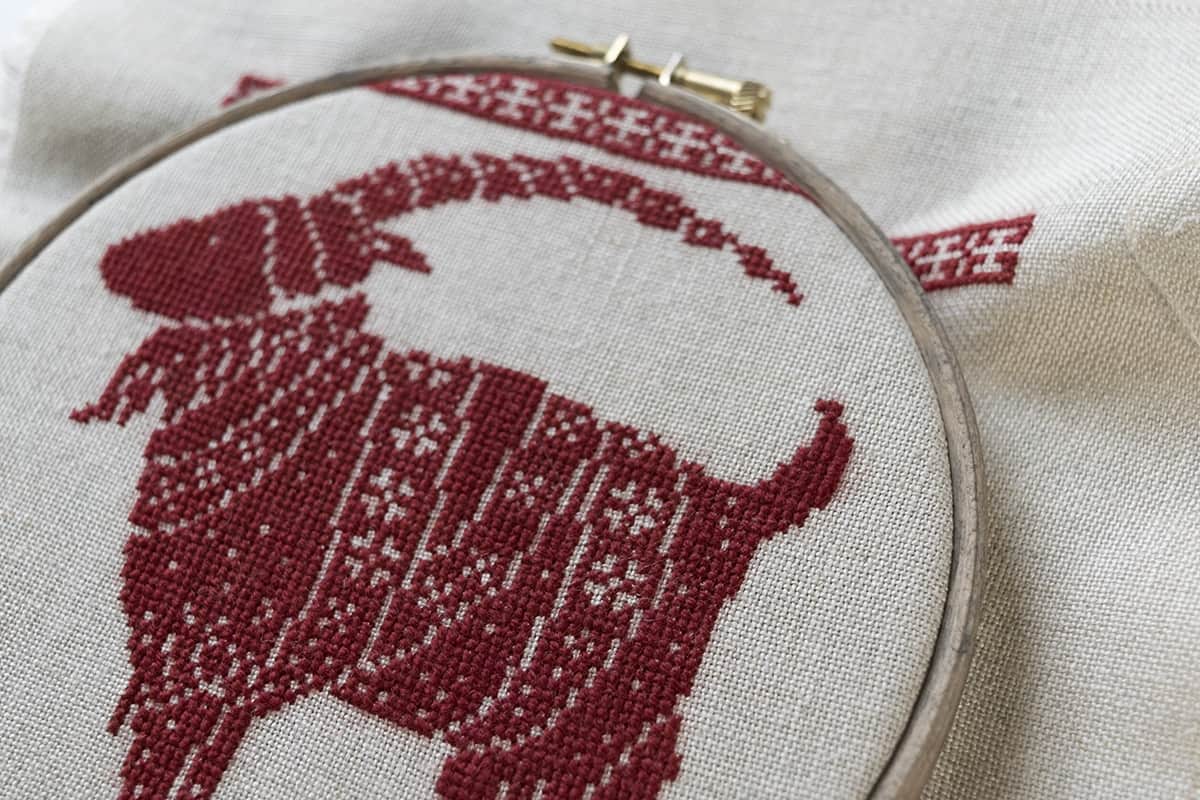

In the past I’ve shared images of my work in an antique embroidery hoop. Many of you have asked if the hoop is for sale, and where it can be bought. Sadly, it’s the only one I have come across, and I don’t want to part with it!
The question made me think that I should be able to antique my embroidery hoops in such a manner that they look old, and where I am not breaking the bank purchasing expensive antiques either! I’ll describe my way of making an antique embroidery hoop below with items most of you will already have at home!
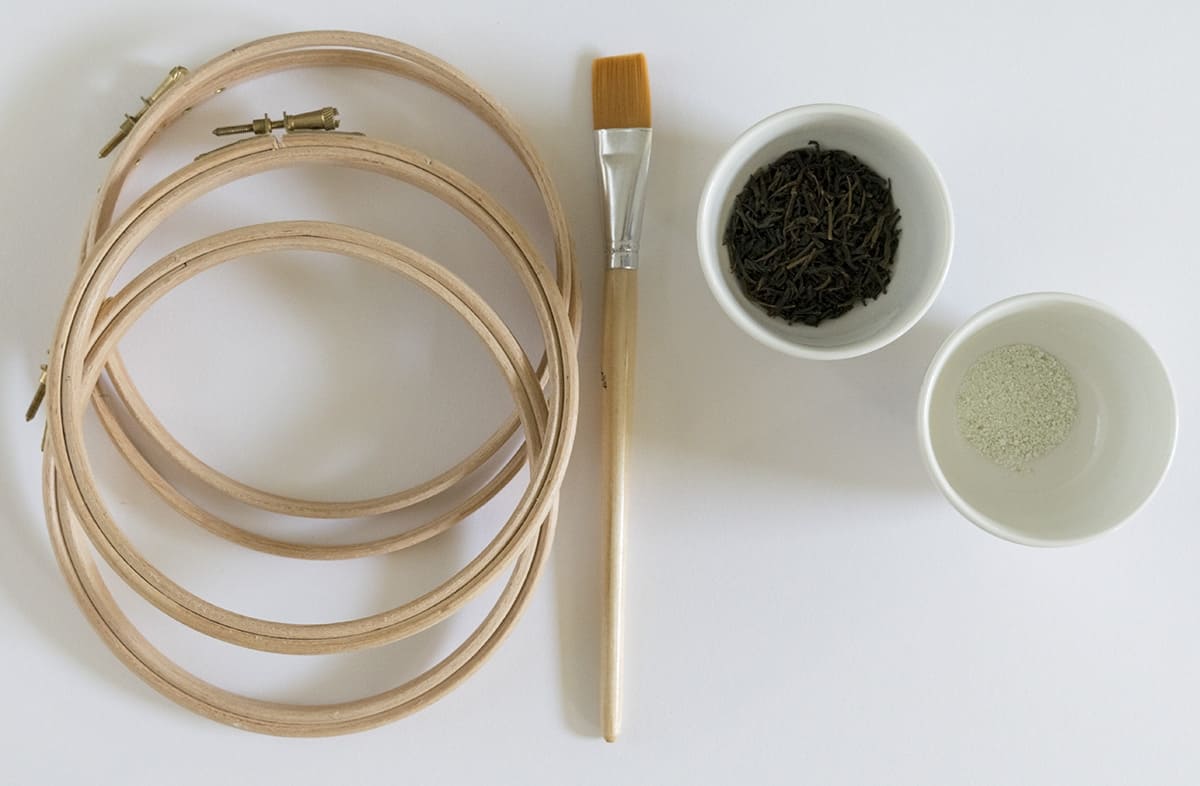
MATERIALS NEEDED:
Embroidery Hoop
Black Tea
1 Cup of Water
Pinch of Iron*
Old Brush
Glass Jar
Protective Gloves
* if you don’t have iron, you can use some scraped rust from old nails, or soak some steel wool in a jar with water and some vinegar – this will make the iron wool very rusty quickly. You can then use the iron wool (which might dissolve slightly) as indicated below
We’ll start by making a very strong cup of tea in a saucepan. Add a cup of boiling water to a heaped tablespoon of black tea leaves (if you don’t have loose leaf tea, a couple of teabags will do the trick – just make sure your tea is black tea for the best result!) After boiling the water with the tea for a few minutes, you should have an extremely dark cup of tea. If the colour is not dark enough, add some more tea and let it stand a little longer.
Let the water cool down slightly, strain leaves out of the broth, and pour into a clean glass jar. Next, add a tiny pinch of iron powder to the liquid. If you’re using the rust water method, you can add the rust water to the brew instead.
You will notice that when the tea comes into contact with the iron, it will turn black! This is what we need to make our antique effect.
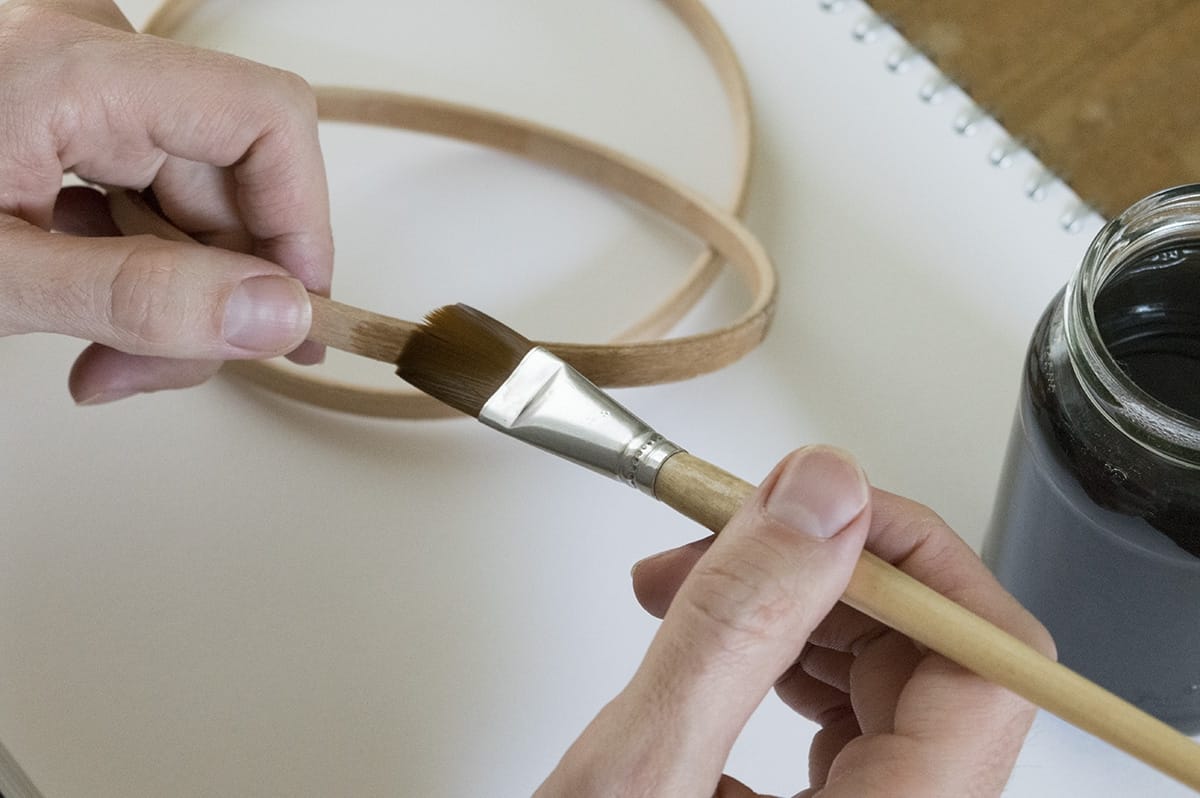
It’s time to get your hands dirty now! Actually – put on a pair of gloves to protect your skin, as this iron tea brew really stains…
First, make a test on how the wood stains on the inner part of the hoop: once your embroidery is framed, you won’t see the inside, but as it’s usually made from the same material, it will show you the effect. Brush the staining material onto the wood, and see the wood turning darker. As you leave it a little, the wood will stain even further.
 If your embroidery hoop does not take the stain very well, it is possible that your wood has been prepared. With some steel wool or fine sandpaper, sand gently sand down the wood, and try again. You should see a significant change in staining.
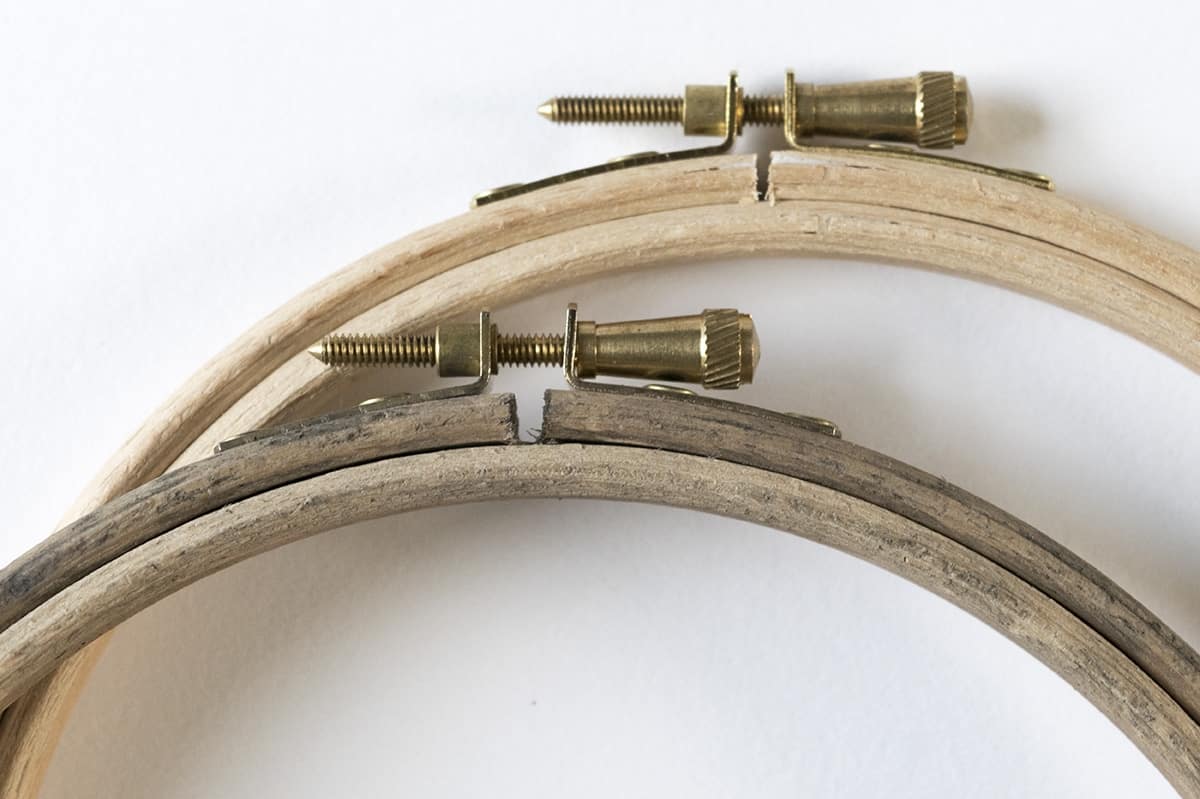 In the image above you can see a new hoop at the top, and a stained hoop at the bottom. The method I use causes the wood to stain a beautiful antique grey colour. Once the staining has dried properly, wash your hoops gently, and dry them again. This will take any excess stain off the wood, so that when you use it it shouldn’t stain the fabric.

You can choose to polish your hoops with bees wax or a similar furniture wax. Please keep in mind that any additional waxes or polishes might stain your fabric!
The great thing of this technique is that it works on lots of wood items. I hope this little tutorial will inspire you, to get creative yourself. I would love to see what you get up to, so let me know in the comments below how you get on with your project, or if you have any questions, and I’ll try and answer them as soon as possible. Have fun!
IMPORTANT NOTE: When working with stains and dyes (even natural ones) you should make sure that you don’t use the same utensils for food preparation again. Although tea is safe, after the addition of iron, the glass jar should not be reused for food purposes.