
The 8-leaf rose (or star flower) is one of my favourite shapes in traditional cross stitch. For this tutorial, we’re going to be stitching a 3-dimensional version of the 8 leaf rose. You can use this cute flower on my free Christmas Rose Pincushion design. Click here to download your copy!
My picot stitch tutorial is slightly different from others, as I start stitching at the base, and use either 4 or 6 warp threads. I also stitched my flower with one pulled strand of floss, which gives a very fine and delicate look to the petals. However, you can use a slightly thicker floss, which will be slightly easier to control!
You’ll be needing the following materials:
– fabric (I stitched on 32 count Zweigart linen)
– 1 cross-stitch needle
– 1 pin (or a 2nd needle)
– floss (I’ve used Retors du Nord “rust” in this tutorial)
– scissors
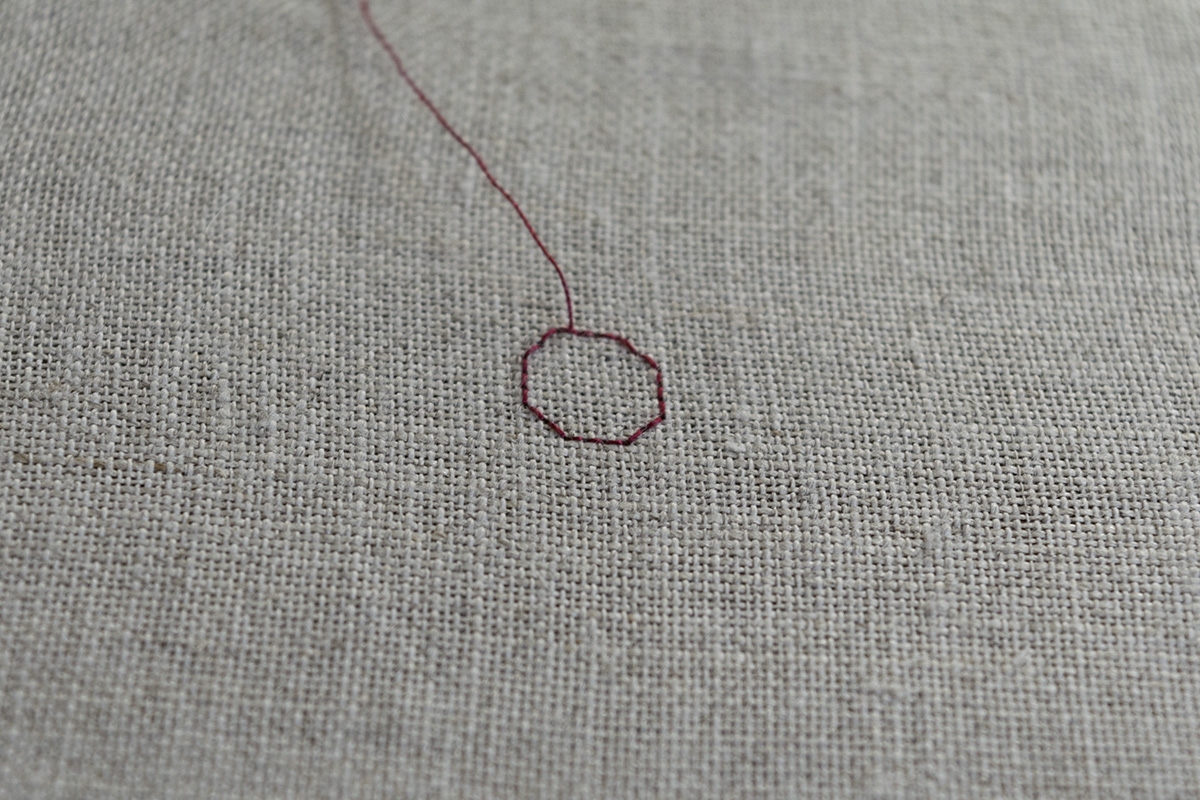 First I stitched a circular outline to help me place the petals. With a running stitch, I stitched 3 horizontal lines (3 crosses wide), 2 diagonals (half crosses), then 3 vertical lines (one cross high), and so repeating until you’re back at the beginning.
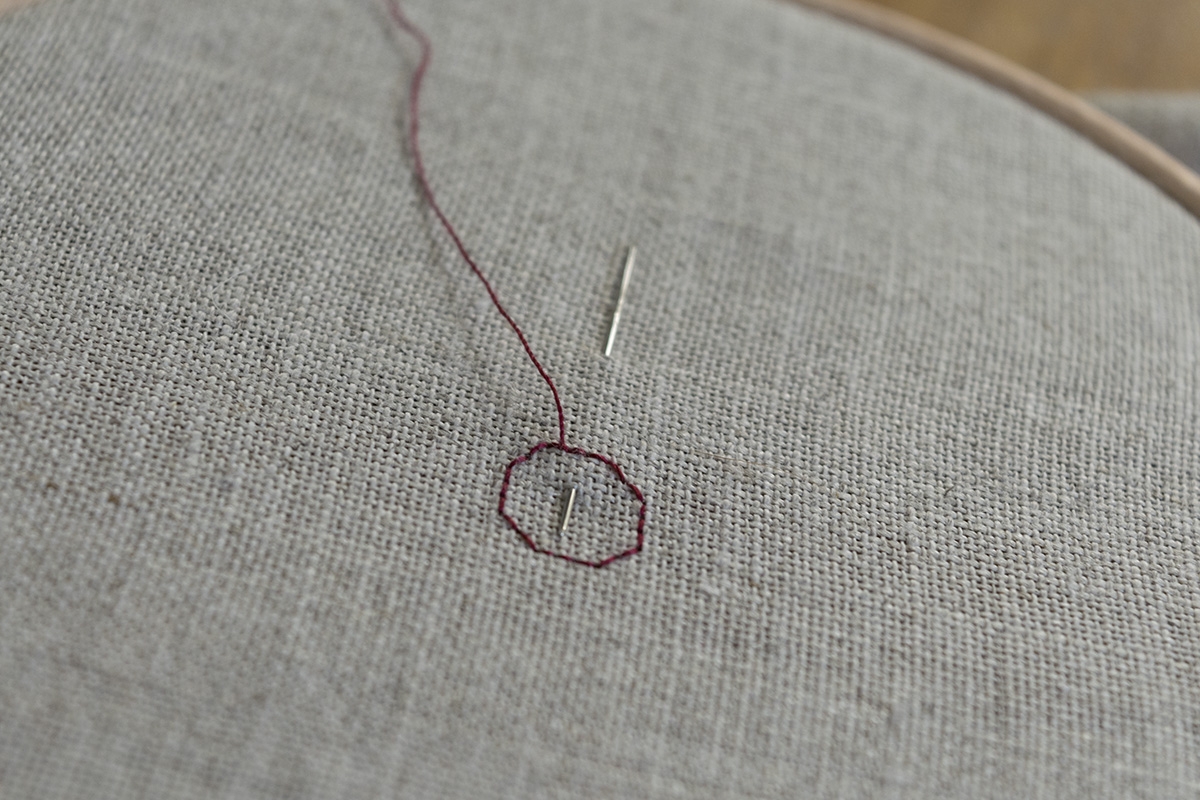 Next you start your first petal. Find the middle of one of the horizontal sides, and count up 8 crosses (or 16 threads on linen). Insert a pin (or spare needle, as I did) at this point, bring it under the fabric, and back up again in the circle.
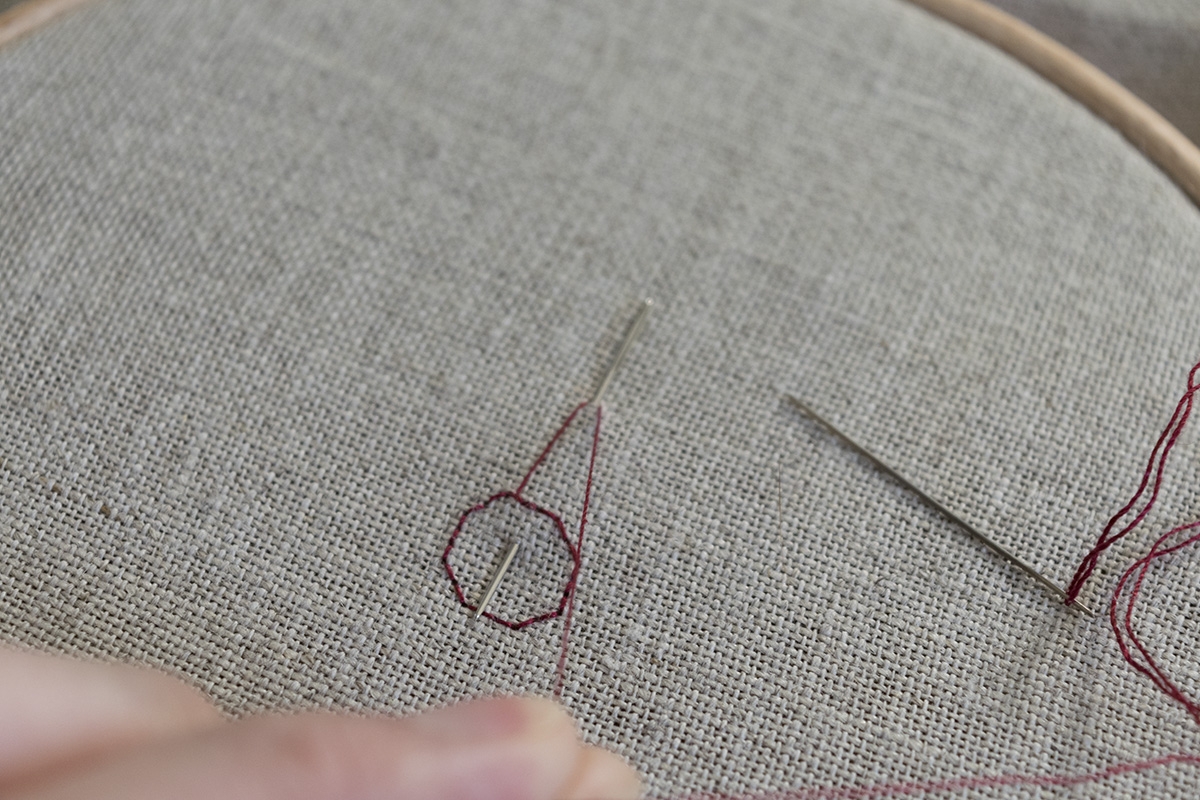 You’re now starting to make the ‘warp’ threads of your weaving. First we make a V shape around the needle. These are the middle two threads.
 Now we do the outer two threads, and bring the needle back in through the fabric. You want the warp threads to be nice and taut, as this is what you will be weaving on.
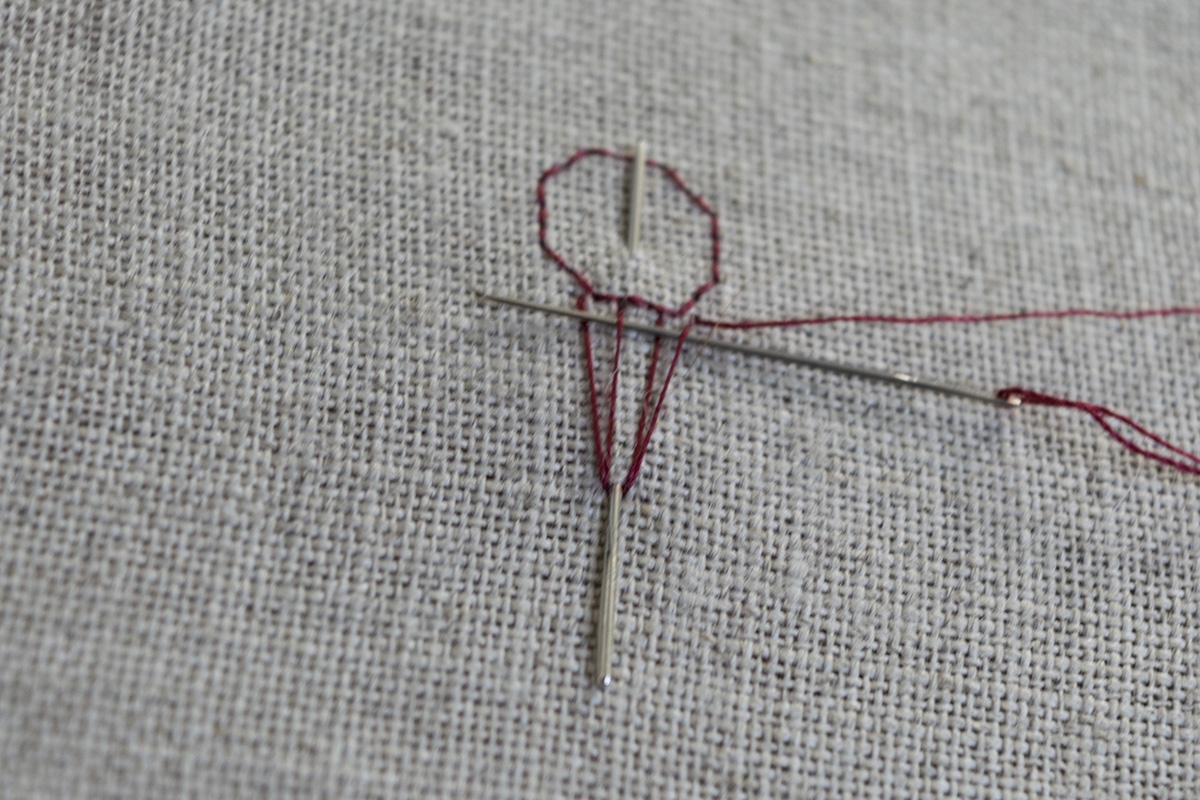 With your needle, now go under the first thread, over the 2nd, under the 3rd, and over the last thread. Pull your thread all the way through.
As I’ve used an uneven number of warp threads, I start weaving from the bottom up. If you prefer to work the other way round, you have to make either 3 or 5 (or 7 etc) warp threads around your needle, and then follow the steps as I show them but working the other way around.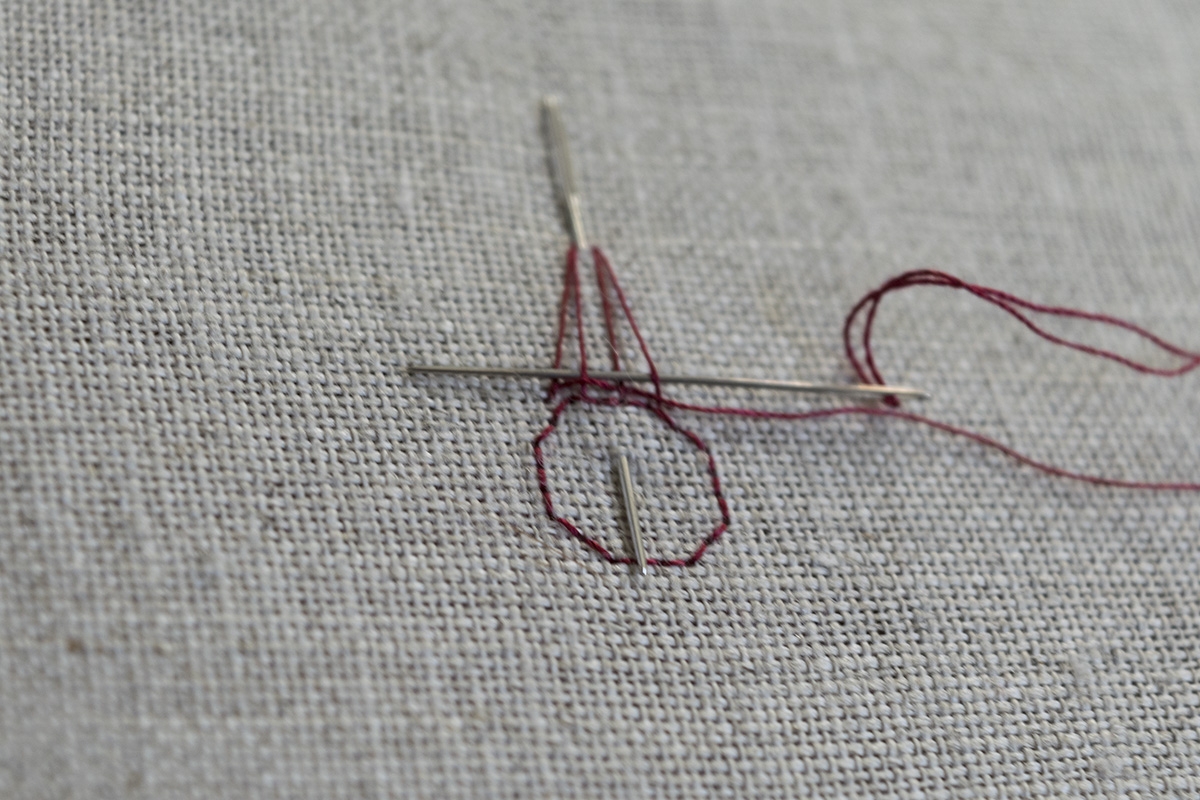 On the 2nd row, you want to do the exact same thing again (with even number of threads), as this means that the last thread you went over, you’ll go under it now. Make sure that you find a perfect balance between not stitching too loose (causing very sloppy borders) or too tight (deforming your petals). This takes some time getting used to.
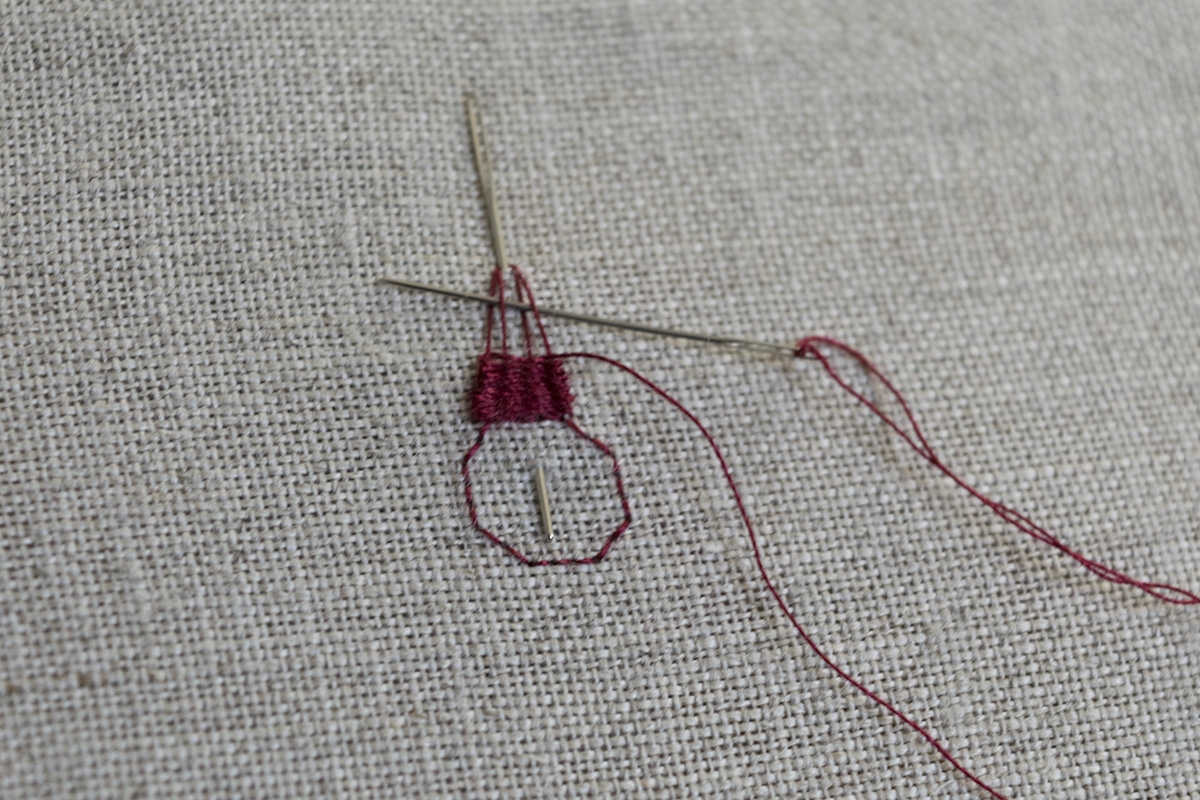 Each time you bring your needle through, make sure to push the previous stitches down with your needle so they sit nice and tight.
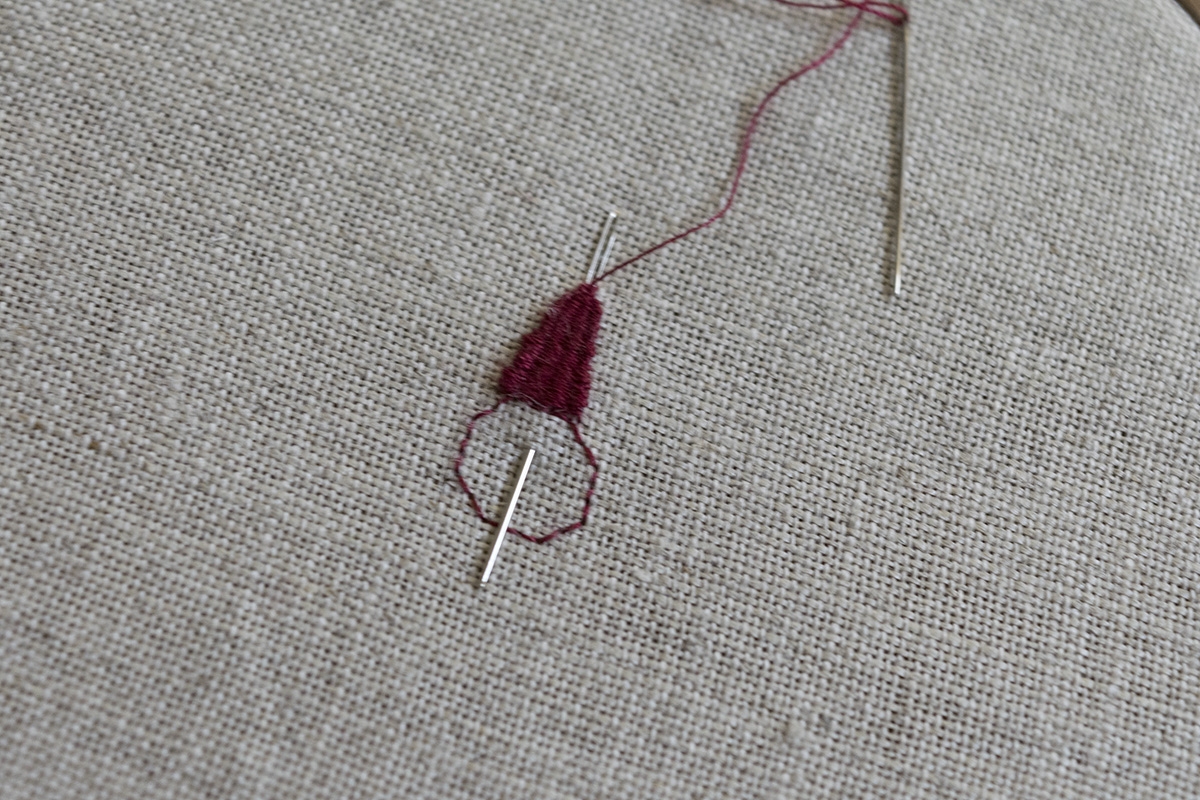 Once you reach the top of your stitching, make a tiny loop and bring your needle through this. This will secure your thread. You can now remove the pin that holds your stitching in place.
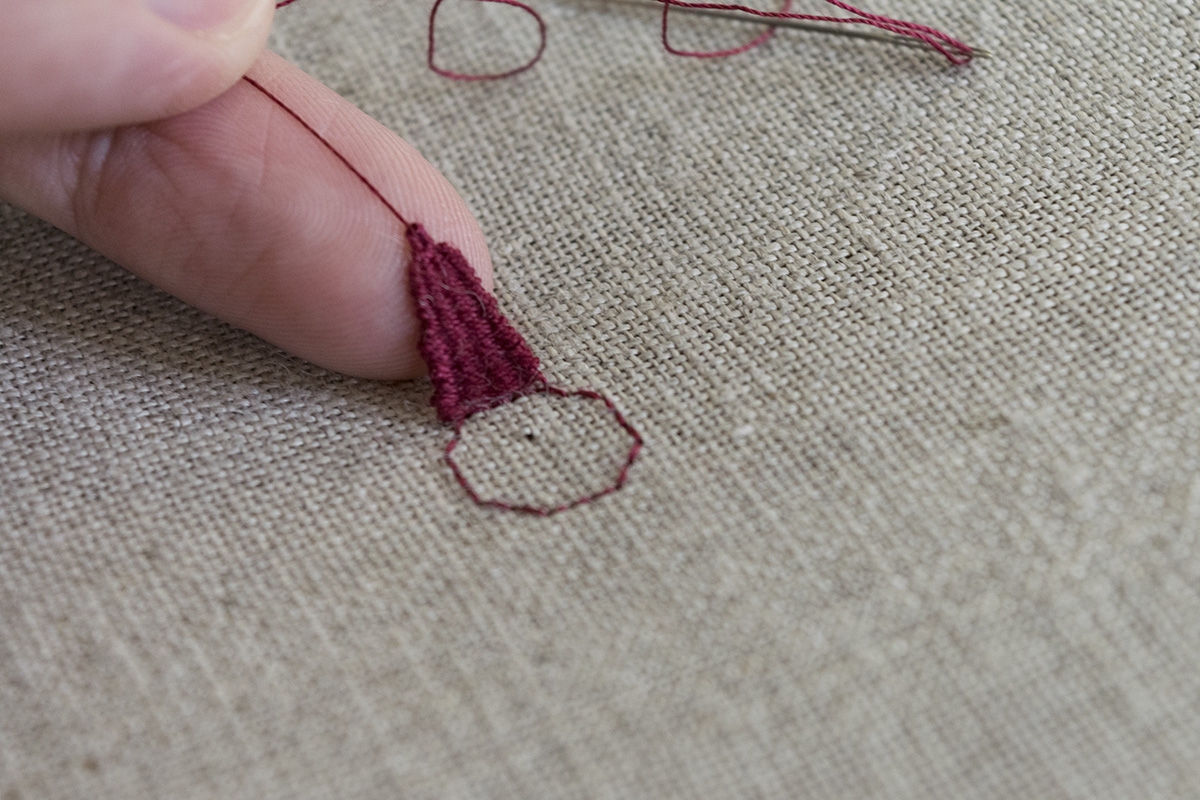 Here it is, your first petal! You can slightly alter the look or tidy your stitches by ‘modelling’ them a little with a pin your your fingers.
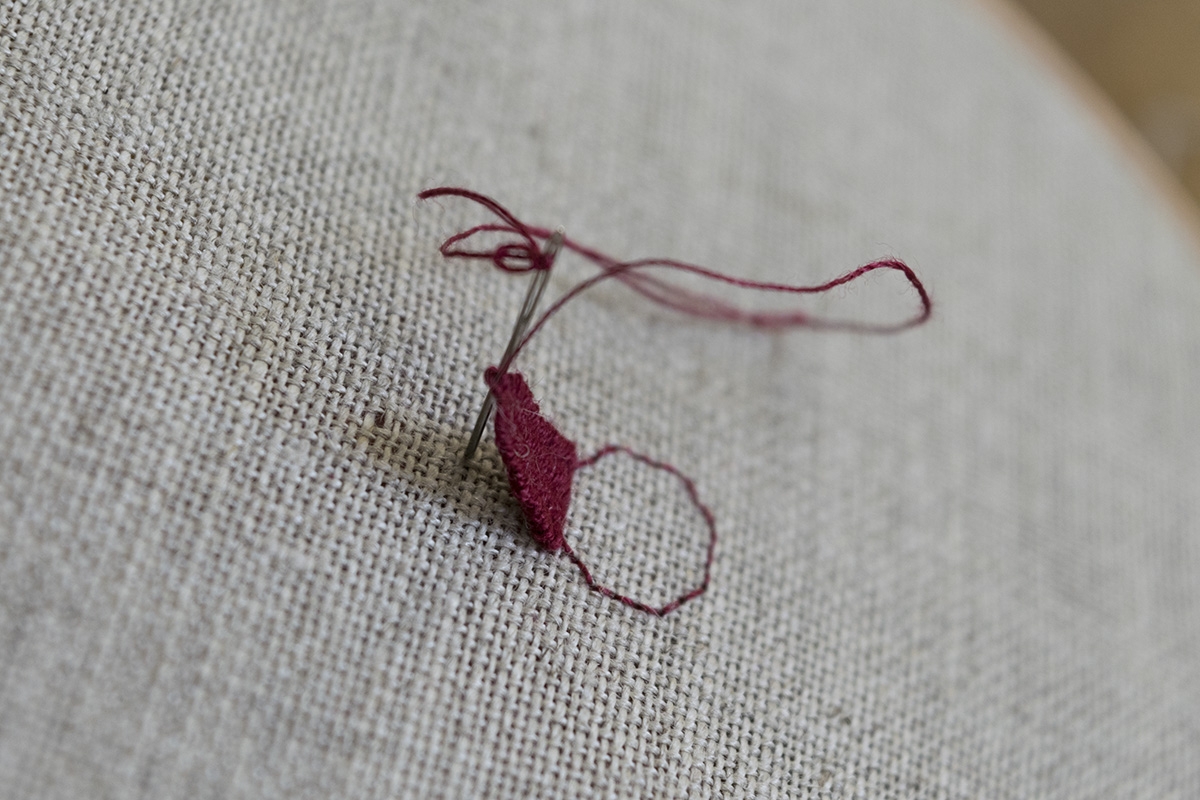 As I wanted the middle for to stand up slightly, I counted halfway down the top of the petal (4 crosses from the base), and brought the needle through. This causes the tip of the petal to be secured in place. It is a good idea to leave this step until the very end, so you can decide how you want to shape your flower.
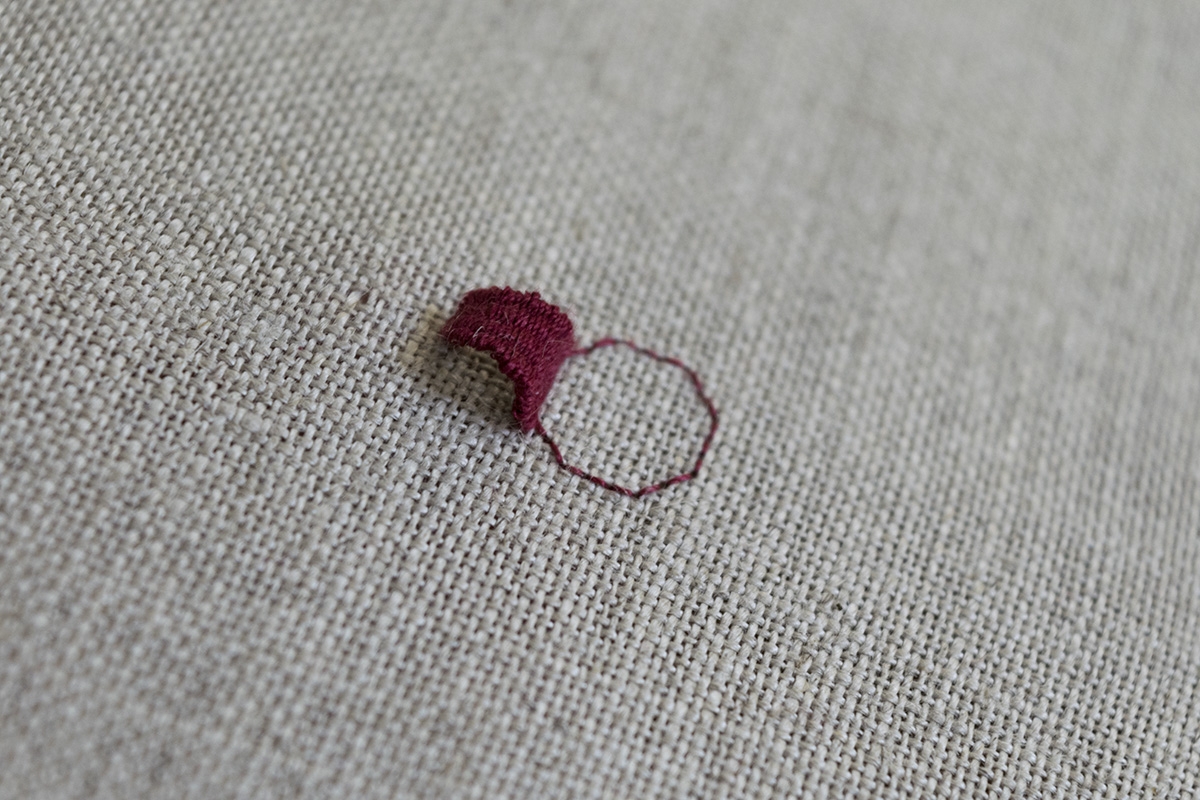 Here you can see one petal stitched in place. Next, you can stitch the other three leaves to form the centre of the flower. Next, start the outer 4 petals as you did the first four, but with a 45º rotation. Once all leaves are done, you can fill in the centre with decorative stitches or crosses, such as a bunch of French knots, or you could do a checkerboard pattern in cross-stitch if you’re not comfortable with French knots!
I would recommend stitching the flower first before you start your cross-stitch.
I hope this tutorial will have been a little helpful for you, and that you’ve learned something new! Let me know in the comments below if you have any questions or comments, and if you are planning to use this technique!
– Jacob